How to Fix Squeaky Stairs
28 August 2026 Joe HartleyIntermediate2–4 hours20 comments
Tools
- Cordless drill / driver
- Wood screws and countersink
- PVA or wood glue
- Timber wedges or packing
- Hammer and nail punch
- Torch
- Dust sheets
A squeaky stair is almost always a tread or riser rubbing where glue blocks, wedges, or nails have loosened with age. Softwood Victorian and mid-century flights are forgiving if you work methodically from the underside or carefully from above. A cracked or split stringer (the sloping side timber that carries the steps) is not a squeak fix. Stop and get a carpenter or structural opinion before you load more fasteners into a failing side.
Tread, riser, or something worse?
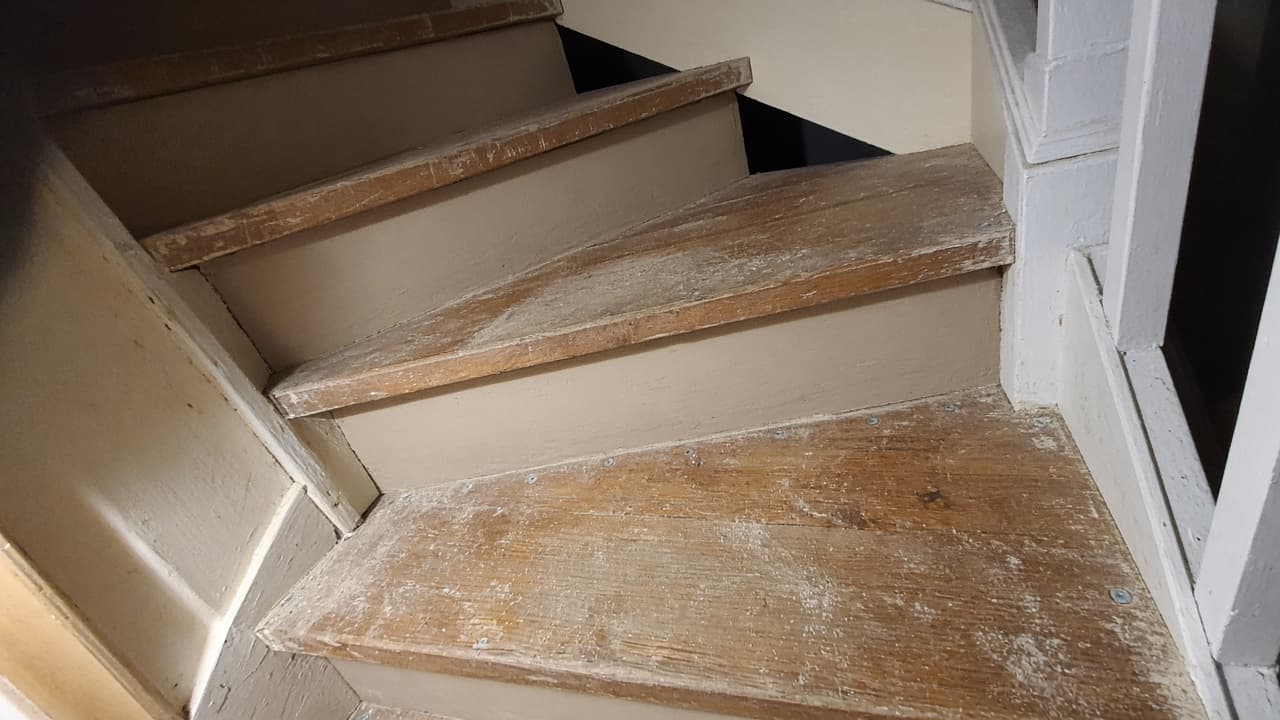
Walk each step slowly and mark the noisy ones. Have a helper stand on the tread while you watch from below if there is cupboard or open-string access. Typical patterns:
| Sound / feel | Likely cause | DIY path |
|---|---|---|
| Creak at the front of the tread | Tread rubbing the riser or loose nosing | Glue and screw the joint |
| Creak at the sides | Wedges under the tread in the stringer loose | Re-wedge and glue from below |
| Dull thud mid-flight | Loose glue blocks behind the riser | Refit blocks with glue and screws |
| Whole flight flexes; cracks in the stringer | Stringer damage or failed bearings | Stop: call a pro |
If the carpet is staying, you can often work from a hatch under the stairs. If you are stripping for a new finish, bare timber makes diagnosis easier before carpet a staircase or decide to hire.
Stop if the stringer is damaged. Hairline paint cracks at the side can be cosmetic. Open splits, soft rot at the wall bearing, or a stringer that moves when you push the newel need a joiner, not another screw through the tread.
What you will need
| Item | Notes |
|---|---|
| Wood screws | Countersunk; length that bites the riser or block without bursting through show faces |
| PVA / wood glue | For wedges, blocks, and closed joints |
| Hardwood or softwood wedges | Pack under treads from below where housings have opened |
| Torch | Underside of stairs is dark and cramped |
| Dust sheets | Glue and drill dust travel |
Quiet the flight
1. Protect the house and open access
Sheet the hall. Empty under-stair storage if you have it. You need room to lie on your back with a torch. Cut power to any light fitting you might nudge with a drill.
2. Refit loose wedges and glue blocks from below
Many traditional stairs use wedges driven under the tread ends into the stringer housing. Tap loose wedges home with light blows, or replace crushed ones with fresh glued wedges. Old glue blocks at the tread–riser corner should sit tight; pry off failed ones, clean the dust, and glue and screw new blocks so they pull the joint closed.
Do not hammer like you are framing a shed. You can split a thin riser or crack a painted stringer face.
3. Screw the tread to the riser where they rub
From above (carpet lifted or bare boards), predrill and countersink through the tread into the top of the riser, or from below up into the tread if that hides the fix. Pull the joint firm. Wipe glue squeeze-out if you opened the joint first.
On show timber, place screws where filler and finish can hide them, or work only from below.
4. Recheck the walk line
Walk every marked step. Fixing one tread often reveals the next noisy joint. Do not keep adding screws into a stringer that flexed during the first repair; that is your cue to stop.
5. Finish or cover
Fill and sand if the timber stays visible, or refit underlay and carpet once the flight is solid. A wobbly spindle or handrail is a separate job: how to replace a stair spindle, how to fit a handrail to a wall.
Mistakes that make stairs worse
- Screwing blindly through a carpeted tread into a void or a pipe chase.
- Driving long screws into a cracked stringer “to stiffen it”.
- Gluing dusty, paint-filled joints that never bond.
- Ignoring soft or insect-damaged timber at the wall end of the stringer.
- Treating a bouncing flight like a single loose nail.
When to call a joiner or structural help
Call a pro if the stringer is split, rotten, or pulling from the wall, if newels rock, if several treads have dropped, or if the flight feels springy under normal use. Temporary wedges will not rebuild a failed side. Banister and handrail work can wait until the structure is sound again.
Related jobs once the squeaks are gone: replace a stair spindle, fit a handrail to a wall, carpet a staircase or decide to hire.
FAQ
Can I fix squeaky stairs without removing the carpet?
Often yes, if you can reach from under the stairs to re-wedge and glue. Screwing from above through carpet risks snagging the pile and missing the timber. Lift a runner section or work from below when you can.
Why do stairs squeak more in winter or summer?
Timber shrinks and swells with heating and humidity. Joints that were tight after a wet autumn can open in dry central heating. Glue and mechanical fixing still help; seasonal movement alone is not a reason to ignore a cracked stringer.
Is a squeaky stair dangerous?
A single creaky tread is usually wear. Combined bounce, visible stringer cracks, or movement at the wall bearing can mean structural trouble. When in doubt, stop DIY fastening and get the flight checked.
20 comments