How to Fit Kitchen Base Units
14 June 2026 Joe HartleyIntermediate1–2 days17 comments
Tools
- Tape measure
- Spirit level
- Drill and bits
- Screwdrivers
- Clamps
- Connecting bolts
- Pencil
Base units carry the worktop, the sink, and half the visual line of the kitchen. If the carcasses are out of square or the appliance gaps are wrong, you fight every door and every joint later. Dry-lay the run on the floor first, then fix only when the tops form one plane. Detailed levelling sits in how to level kitchen base units; this guide covers planning and fixing the carcasses themselves.
Plan the run before you unpack everything
Mark the room on paper: corners, window reveals, pipe positions, and the cooker or hob space. Most UK appliance housings assume a 600 mm clear opening for a freestanding cooker or dishwasher; check your appliance manual before you steal 10 mm for a filler panel.
Decide the start point. Working from a corner with a full-depth unit is usual. If one wall is badly out of square, leave a scribe gap and a filler panel rather than twisting the first carcass to match the plaster.
| Unit type | Leave for | Typical clear opening |
|---|---|---|
| Dishwasher / freestanding cooker | Appliance | Often 600 mm; confirm with the appliance |
| Sink base | Bowl, waste, and tap tails | Carcass width per sink template |
| Corner carousel / L-shape | Door swing and neighbouring unit | Follow the range drawing |
| End panel / filler | Uneven walls | Trim to scribe; do not crush the carcass |
Cap or isolate water and power before you strip an old kitchen. Gas cookers and hobs: a Gas Safe engineer disconnects and reconnects. Do not bend or extend gas pipe yourself to make a carcass fit.
What you need on the day
| Item | Notes |
|---|---|
| Assembled carcasses with adjustable legs | Legs usually set roughly 150 mm high; fine-tune later |
| Wall brackets or fixing plates | Hold the back of the unit to the wall once level |
| Connecting bolts / cabinet screws | Join adjacent carcasses through the sides |
| Packers | For gaps at the wall and under feet on hollow floors |
| Filler strips | Where the run meets a wall that is not square |
Keep doors, drawers, and worktops off the floor path. You will move carcasses more than once.
Step-by-step
1. Assemble and dry-fit
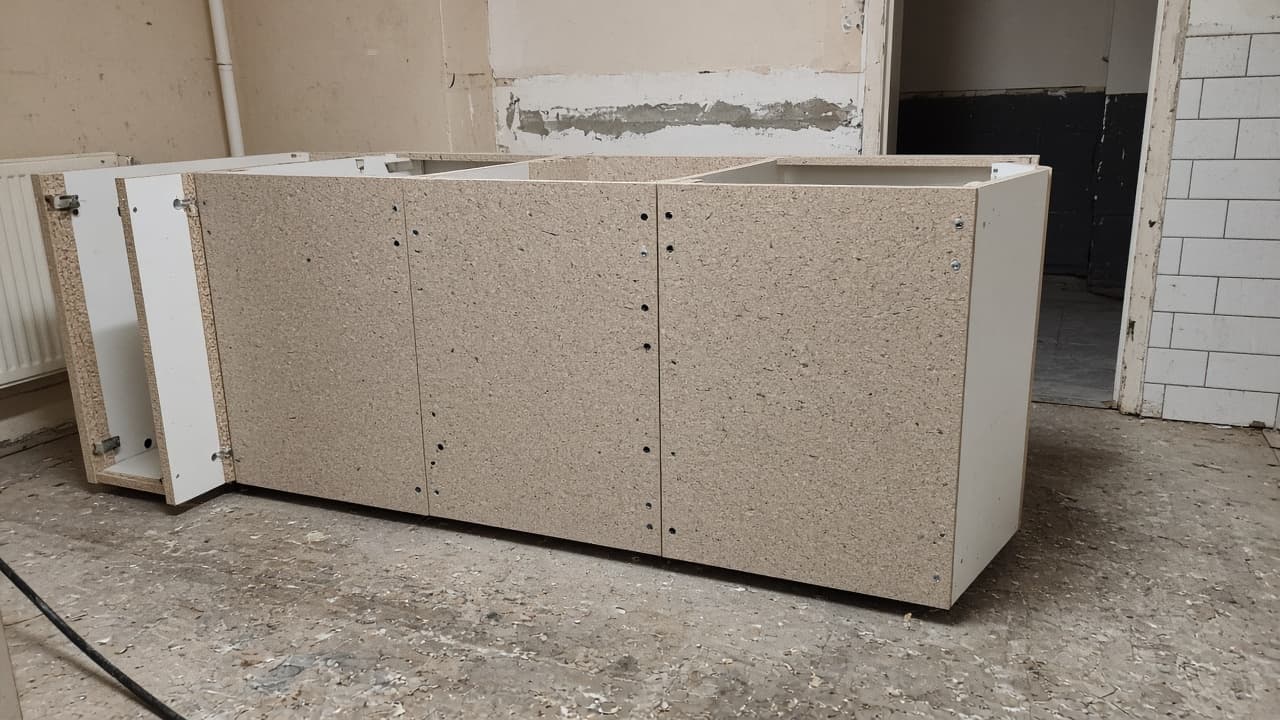
Build each carcass square (check diagonals with a tape). Stand them in order along the wall without fixing. Check appliance gaps with the actual appliance or a batten cut to the clear width. Adjust leg heights roughly so nothing rocks.
2. Set the first unit true
Start at your planned corner or tall adjoining unit. Use a spirit level on the front edge and across the top. Pack the back legs or adjust them until the top is level front to back and the face is plumb. A unit that leans into the room will show as a tapering door gap all the way along.
3. Join neighbours and leave appliance spaces
Bring the next carcass up, clamp the front edges flush, and fit connecting bolts. Recheck the top with a long level across both units. Leave the dishwasher or cooker gap empty and bridged later with the worktop, or fit the appliance housing as the maker shows. Do not “borrow” millimetres from an appliance gap to hide a wall that is out.
4. Fix back to the wall
Once a section of the run is level as a plane, mark wall bracket positions, drill and plug for the wall type, and screw the brackets so the carcass cannot tip forward. The brackets take shear; the legs take the weight. If the wall bows, pack behind the bracket rather than pulling the carcass out of square with the screw.
5. Recheck before worktops and wall units
Walk the tops with a long level or straight edge. Doors should hang with even reveals once fitted. Only then move on to levelling fine-tuning, wall units, and fitting the worktop.
Common mistakes
- Fixing units hard to a corner that is not 90 degrees. The run then dog-legs and laminate joints never close.
- Setting leg height from one high spot on the floor. The far end sits low and the worktop rocks.
- Screwing carcasses together before the tops are coplanar. You lock a step into the joint line.
- Ignoring pipe boxing. A sink base needs room for the waste trap and tap tails; crush that space and the plumber (or you) cannot finish the sink.
When to call a kitchen fitter
Call a fitter if walls and floor are so far out that every carcass needs heavy scribing, if you are tying into structural changes, or if gas and complex electrics sit in the middle of the run. A Gas Safe engineer must handle any gas hob or cooker connection.
Next in the fit: level the base units, hang the wall units, then fit the worktop. Sink cut-outs come after the top is sized: how to cut a worktop for a sink.
FAQ
Do kitchen base units fix to the floor or the wall?
Weight sits on the adjustable legs. Brackets tie the back of the carcass to the wall so it cannot tip. You do not normally screw through the floor unless the maker specifies it for a particular housing.
How much gap do I leave for a dishwasher?
Most UK dishwashers need a clear opening close to 600 mm. Measure your appliance and the installation sheet; do not assume the old gap was correct.
Should base units go in before wall units?
Yes. Level the base run first so wall-unit height and worktop thickness have a reliable reference. Hanging wall units first forces you to guess the finished worktop line.
17 comments