How to Replace a Light Switch Like-for-Like
31 August 2026 Joe HartleyIntermediate30–60 minutes14 comments
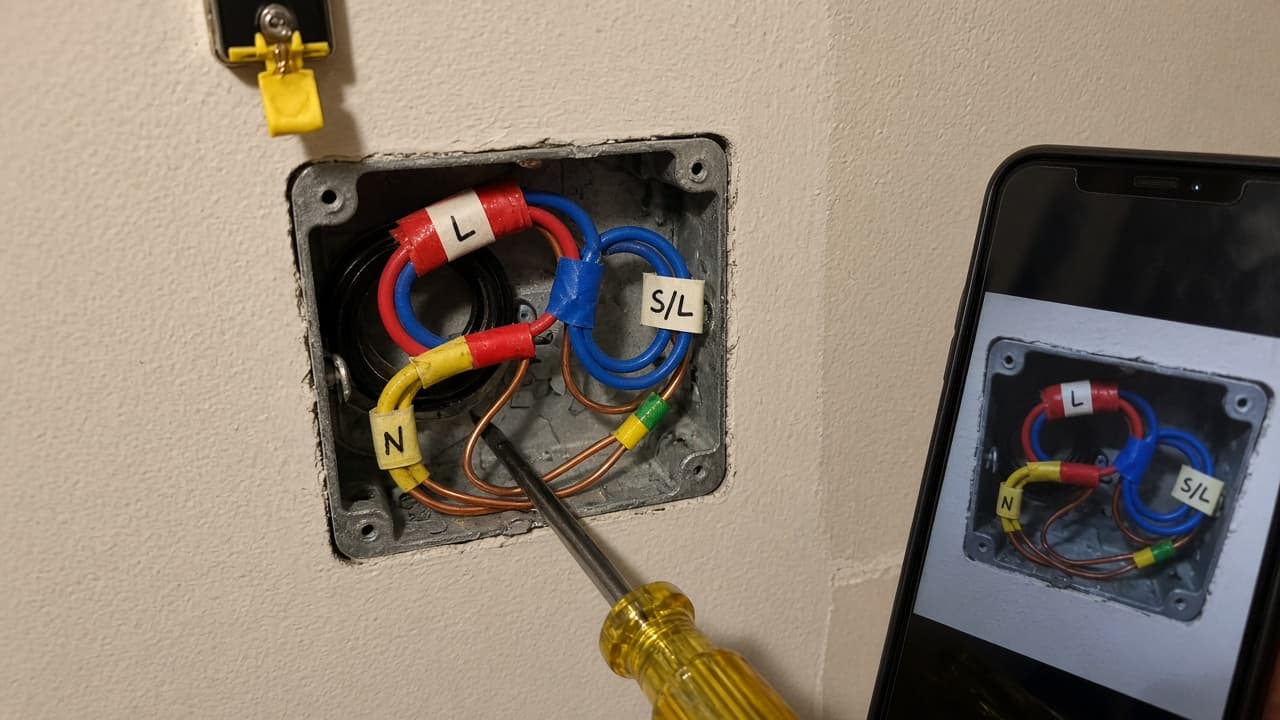
Tools
- Insulated screwdriver set
- Voltage tester / proving unit (as your tester requires)
- Phone camera for terminal photos
- Torch
- Matching one-way switch
- Small container for screws
A cracked rocker or a dated finish is a fair DIY job when you are only swapping the switch for the same type on the same cables. This guide is like-for-like only: one-way for one-way, same terminal use, same back box. It is not how to add a switch, convert one-way to two-way, or touch the consumer unit beyond switching a circuit off.
If you are unsure whether your job sits on the DIY side of the line, start with what electrical work can you DIY in the UK and Part P explained for homeowners. For hallway or landing switches that control the light from two places, use how to replace a two-way light switch like-for-like instead.
Confirm it is a one-way switch
A one-way switch usually has two live-side terminals in use (often marked L1 and COM, or similar). A two-way switch has three (COM, L1, L2). If the existing plate has three conductors in switching terminals, or the light is controlled from another switch as well, stop this guide and use the two-way one.
Metal faceplates need a sound earth connection to the plate. Plastic faceplates often have no earth terminal on the accessory itself, but any earth conductors in the box must still be joined safely (for example in a connector) and never left floating. If the earth arrangement looks improvised or missing on a metal plate, refit and call an electrician.
What you will need
| Item | Notes |
|---|---|
| Matching one-way switch | Same gang count and function. Do not “upgrade” to two-way here. |
| Insulated screwdrivers | Flat and Phillips as the terminals need |
| Voltage tester | Prove the circuit dead after isolation |
| Phone | Clear photos of every terminal before you undo anything |
| Torch | Back boxes are often deep and poorly lit |
| Masking tape and pen | Optional labels on conductors if photos are unclear |
Buy the switch after you know the existing one is one-way. Taking a photo of the old faceplate (front and back, once isolated and removed) to the DIY store beats guessing from the aisle.
Isolate and prove dead
Work only on a circuit you have switched off at the consumer unit (MCB or fuse for that lighting circuit), not merely at the wall switch. The wall switch does not make the conductors in the back box safe while you dismantle it.
- Identify the lighting circuit on the consumer unit legend if you can. If labels are missing, you may need to switch likely breakers one at a time and check the light, then leave that breaker off.
- Switch the correct breaker (or remove the correct fuse) to OFF. Do not open the consumer unit or alter anything inside it.
- Stick a note on the consumer unit door so nobody restores power mid-job.
- At the switch, use your voltage tester as the manufacturer directs and prove the conductors are dead before you disconnect them.
- If you cannot prove dead confidently, stop and hire an electrician.
This guide never covers fitting a new circuit, adding cable, or working on the consumer unit internals.
Step-by-step
1. Remove the faceplate screws
Undo the two faceplate screws. Ease the plate away from the wall a little so you can see the conductors without yanking them. Old decorator’s paint can glue the plate to the wall; cut the paint line carefully rather than levering hard on the cables.
2. Photograph every terminal
Before any conductor comes off, take sharp photos of the back of the switch: which colour lands in which marked terminal, and how many conductors share a terminal. Include a shot that shows earth arrangements in the box. These photos are your only map if a conductor slips free.
3. Compare the new switch
Hold the new switch beside the old one. Terminal markings and the number of terminals you will use must match. If the new accessory expects a different layout, or you see more conductors than you expected, refit the old switch and stop.
4. Transfer conductors one at a time
Loosen one terminal, move that conductor to the matching terminal on the new switch, and tighten. Do not strip all conductors off at once “to make it quicker.” Keep insulation up to the terminal; bare copper showing outside the clamp is a fault waiting to happen. Where two conductors shared a terminal on the old switch, they must share the matching terminal on the new one unless the product instructions say otherwise (and the photos agree).
5. Seat the plate and restore power
Fold conductors neatly into the back box without pinching. Fit the faceplate square and snug, not crushing cable under the edge. Restore the breaker. Test the light. If the breaker trips, turn it off again, do not keep resetting, and call an electrician.
Mistakes that turn a simple swap into a fault
- Isolating only at the rocker and assuming the back box is dead.
- Fitting a two-way or intermediate switch “because it was on offer” and leaving a terminal unused or bridged wrongly.
- Ignoring a bare earth stuffed behind the box with no proper connection.
- Over-tightening terminal screws until the conductor strands cut through.
- Carrying on when old red/black colours and an extra sleeved conductor do not match your photos or the new markings.
When to call an electrician
Stop and call a registered electrician if conductor count or colours do not match a clear like-for-like map, if terminals are burnt or melted, if the back box is loose or broken, if an RCD or breaker will not stay on after the swap, or if you cannot isolate and prove dead. Also stop for bathroom pull-cord conversions, multi-gang plates where only some switches are two-way, and any job that needs new cable.
Cluster links: what electrical work can you DIY in the UK, Part P explained for homeowners, two-way switch like-for-like, socket faceplate like-for-like.
FAQ
Do I turn the power off at the consumer unit or just the switch?
At the consumer unit for that lighting circuit. The wall switch is the thing you are removing; it is not a safe isolation method for the conductors behind it.
What if the wire colours do not match the new switch diagram?
Do not invent a mapping. Refit the old switch from your photos and call an electrician. Old UK colours and sleeved switch wires are easy to misread.
Can I replace a one-way switch with a dimmer?
Only if it is still a like-for-like function the existing wiring and lamp load support, and the dimmer instructions match what you photographed. Many dimmers need a different arrangement. If anything is unclear, treat it as outside this guide.
Is a light switch replacement notifiable under Part P?
A simple like-for-like replacement is often non-notifiable in England, but nations and edge cases differ. Read Part P explained for homeowners and do not stretch this job into new wiring.
14 comments