How to Lay Loft Insulation Rolls
7 August 2026 Joe HartleyBeginnerHalf a day to 1 day3 comments
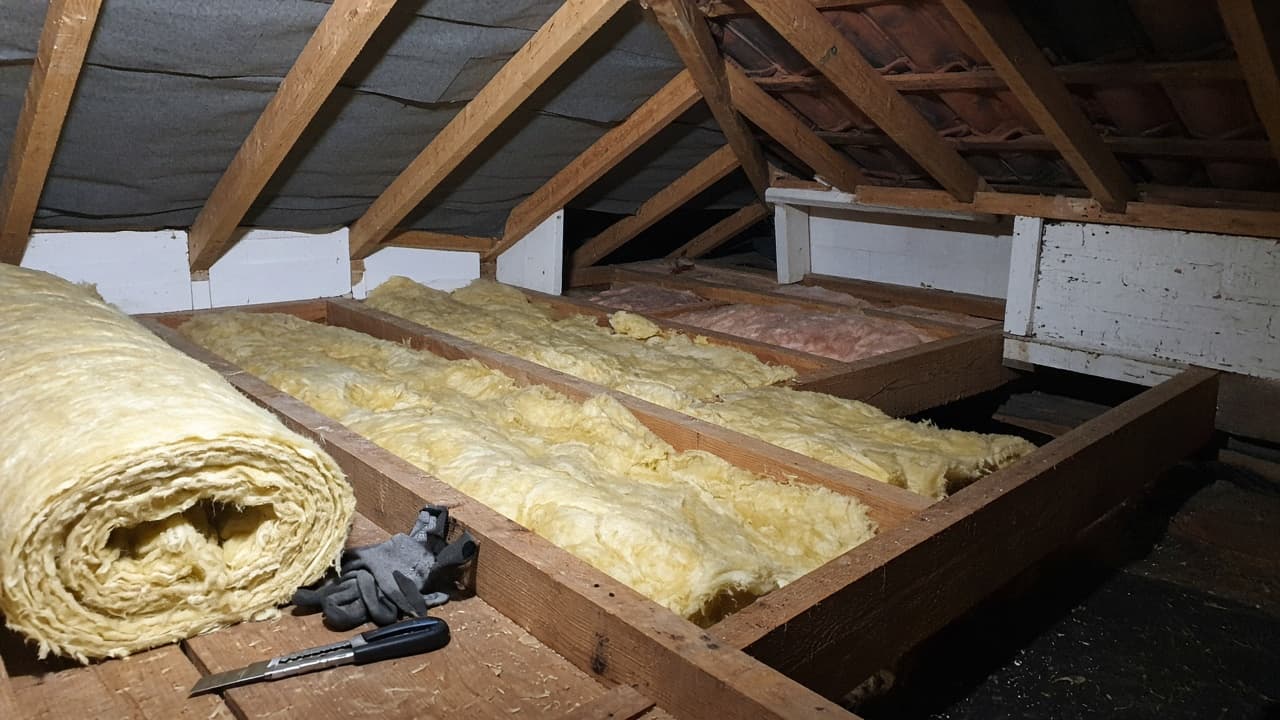
Tools
- Loft boards or crawl boards
- Work light or head torch
- Tape measure and marker
- Sharp knife or insulation saw
- Straight edge or offcut timber for cutting
- Dust mask, goggles, gloves, long sleeves
- Unfaced mineral wool loft rolls
Laying loft insulation rolls is the first practical pass in most UK cold lofts: fill the bays between joists so heat stops pouring through the ceiling. The pack looks bulky, but the job is measuring, cutting, and placing without compressing the wool or blocking the eaves. For the full depth target and second layer, use the parent overview and the crosswise guide after this one.
Cold rooms and black spots on walls often need more than loft quilt. Pair this job with how to stop condensation on windows if glass streams every morning, and how to treat mould on walls safely if you are cleaning existing growth.
Pick the right roll for the bay
| Check | What to buy |
|---|---|
| Joist spacing | Rolls sized to common centres (often ~400 mm or ~600 mm). Measure a few bays; older floors wander. |
| Joist depth | First layer should sit proud of the joist top only a little, not crushed flat later. Typical first-layer packs are around 100 mm. |
| Facing | Unfaced loft rolls for a cold loft. Foil- or paper-faced products belong in specific wall or floor build-ups, not stuffed randomly above a ceiling. |
| Condition of old quilt | Dry and even: leave it and top up. Wet or ruined: strip that bay and replace. |
If you only need this first layer today, still plan how you will reach ~270 mm later. Bare joist tops stay as cold stripes until a second layer goes across.
Kit on the hatch rim
| Item | Why it matters |
|---|---|
| Boards | Weight on joists only |
| Knife and straight edge | Clean cuts beat tearing with hands |
| PPE | Fibres itch eyes, skin, and airways |
| Light | Stops you missing gaps at party walls and around the hatch trim |
| Bag for offcuts | Keeps the landing clear and the loft walkable |
Parent planning (depth, vents, stop points): how to insulate a loft.
Step-by-step
1. Board a safe path
Lay crawl boards from the hatch outward. Move them as you work. Never step between joists onto plasterboard, even where the old quilt looks firm.
2. Start at the eaves end of a bay
Kneel on boards. Leave a clear channel at the eaves so soffit or eaves vents still feed air into the loft. Do not ram wool into the eaves gap. If the space is tight, fit a baffle tray before the roll goes in.
3. Unroll between the joists
Open the pack in the loft (it expands). Drop the roll into the bay so it fills side to side without forcing. A gentle friction fit is right; a crushed sausage is wrong. Butt the next length tight end-to-end. Avoid big air gaps at joins.
4. Cut around obstacles
Mark pipes, cables, and bridles. Cut the roll so it meets the obstacle closely without wrapping live cables into a tight, heat-trapping sleeve unless the cable type and guidance allow covering. Leave recessed downlights clear unless they are rated and hooded for insulation contact.
5. Work bay by bay toward the hatch
Fill each bay, then shift boards. Finish awkward strips at hips and around the hatch opening last, when you can still turn round safely. Trim excess with the knife on a board, not against the ceiling.
6. Check the finish
Look for voids at the eaves end of each bay, gaps at party walls, and quilt sitting below joist tops in thin patches. Top those up. When every bay is full, move on to a crosswise second layer if you still need depth: how to lay loft insulation between and over joists.
Common mistakes
- Tearing lengths by hand so edges fray and leave zig-zag gaps.
- Standing in the bay you just filled and flattening the wool under your knees.
- Stuffing the eaves shut “to make it look neat”.
- Leaving a 50 mm air gap down one side of a bay because the roll was the wrong width and nobody cut a strip filler.
- Opening every pack on the landing so the house fills with fibres before you start.
When to call a pro
Stop and get help if joists are rotten, wiring is scorched or bare, or the roof leaks onto the ceiling. An electrician should sort unsafe cables and downlight clearances. A roofer owns wet felt and slipped tiles. Large or awkward lofts with no boarding and poor access are fair to hand to an installer.
Same-cluster next steps: how to lay loft insulation between and over joists for the crosswise top layer, how to insulate a loft hatch once the floor quilt is in, and how to insulate a loft for depth targets and eaves rules.
FAQ
Which way up do loft rolls go?
Unfaced mineral wool has no “up”. Lay it so it fills the bay evenly. If a pack has a facing, follow the maker’s cold-loft instructions; do not invent a polythene sheet under the whole loft.
How do I cut loft insulation cleanly?
Compress the roll lightly with a straight timber offcut and cut through with a sharp knife or insulation saw. Several light passes beat one crushed hack. Cut on a board, not across your knee.
Can I lay rolls over existing insulation?
Yes if the old layer is dry and fairly level. Nest the new roll between joists on top of thin old quilt, or use a wider roll as a second layer across the joists when you are building toward full depth.
3 comments